Agar is medium that cures into a gelatinous form and when mixed with the proper chemicals and nutrients it provides a solid base to grow your bacterial and yeast cultures off of.
These protocols will provide guidance in making the best possible product to provide you with the best possible outcome.
What you need:
- Petri Plates
- LB Agar Media
- Scale
- Glassware
To start we will talk about a bacterial base in which we use LB AGAR.
A common ratio to remember when making your LB AGAR mix is 40g to 1L of water ratio This ratio will make about 80 plates. This protocol is going to walk you through making 10 plates.
10 plates necessitates a 5g LB AGAR powder mixed with 125mL of water.
STEP 1:
Put on a pair of Nitrile gloves on for this.
Contamination is critical, as you are providing a platform for bacteria and yeast to grow. They both exist naturally on our skin and in the air, so gloves are a necessity.
STEP 2:
Weigh out your LB AGAR on your digital scale.
First turn on your scale, let it zero out, and put a small tray or container to weigh out your LB AGAR on top. Then press the TARE button.
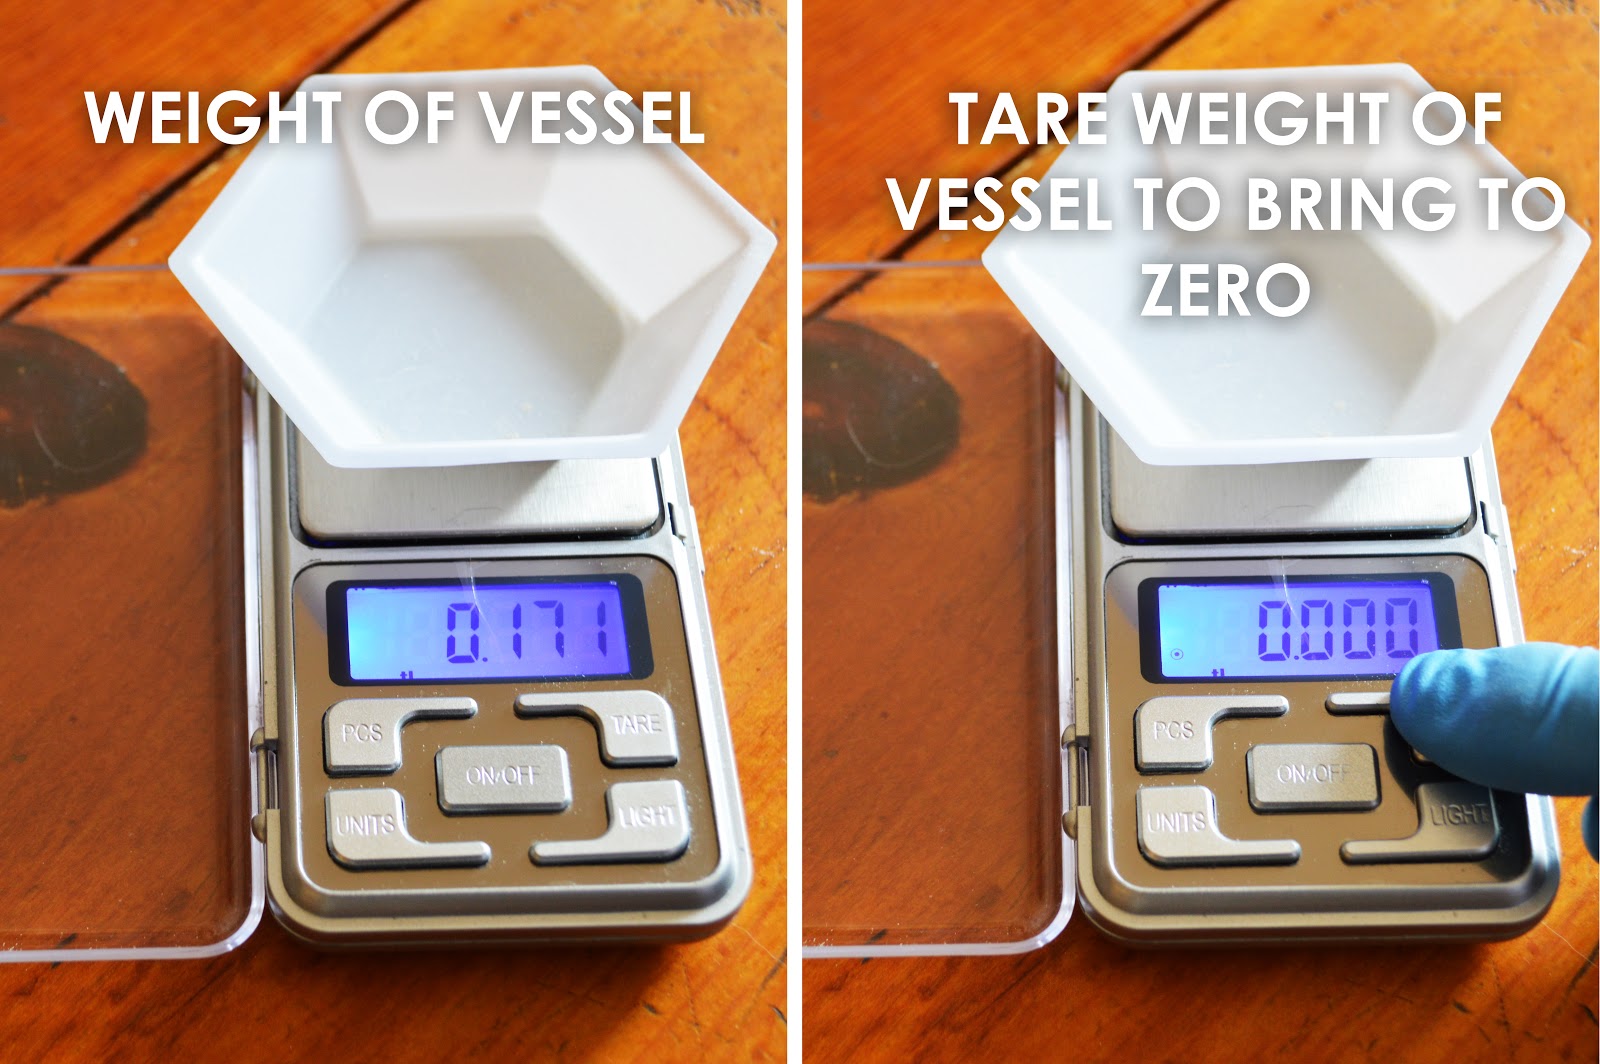
Then slowly add your mix from your tube to the tray until you have reached 6.25 / 6.3g.
Fill your bottle or container that is microwave safe with 125mL water.
Now pour the powder into your water.
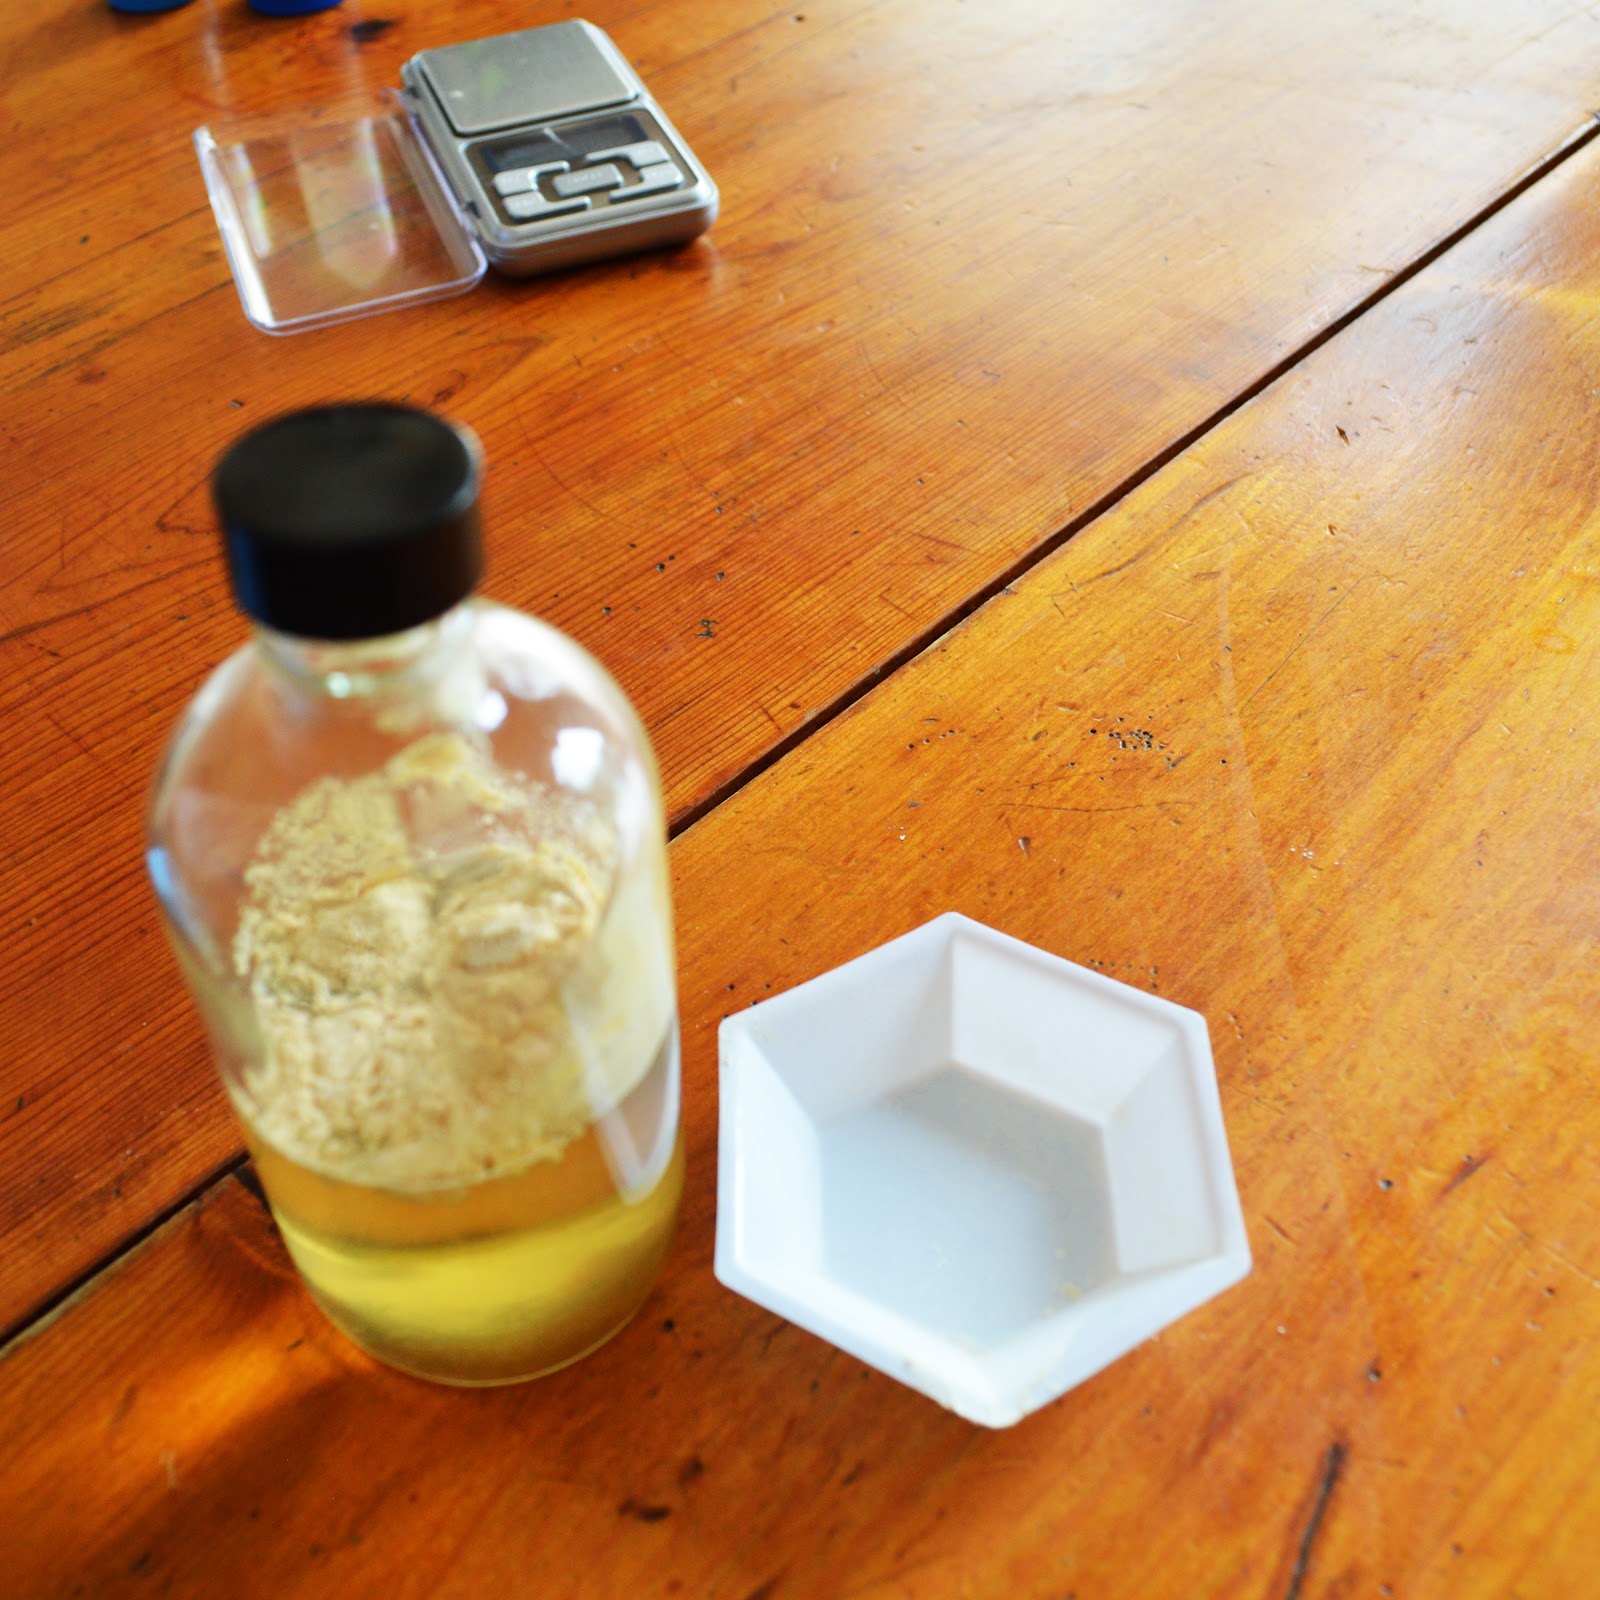
Put lid on water and gently shake until you have a consistent yellow fluid. Let the foam settle.
Put cap on container and barely turn it just to hold it in place.
*Note: Do not tighten LID, can possibly make container explode.
Place in microwave for 30 second increments on a normal setting. Stand and watch for boiling as you do not want it to boil over. After all AGAR media has dissolved into a tinted solution, normally 2-3 minutes, you are finished and let cool until it is safe to touch.
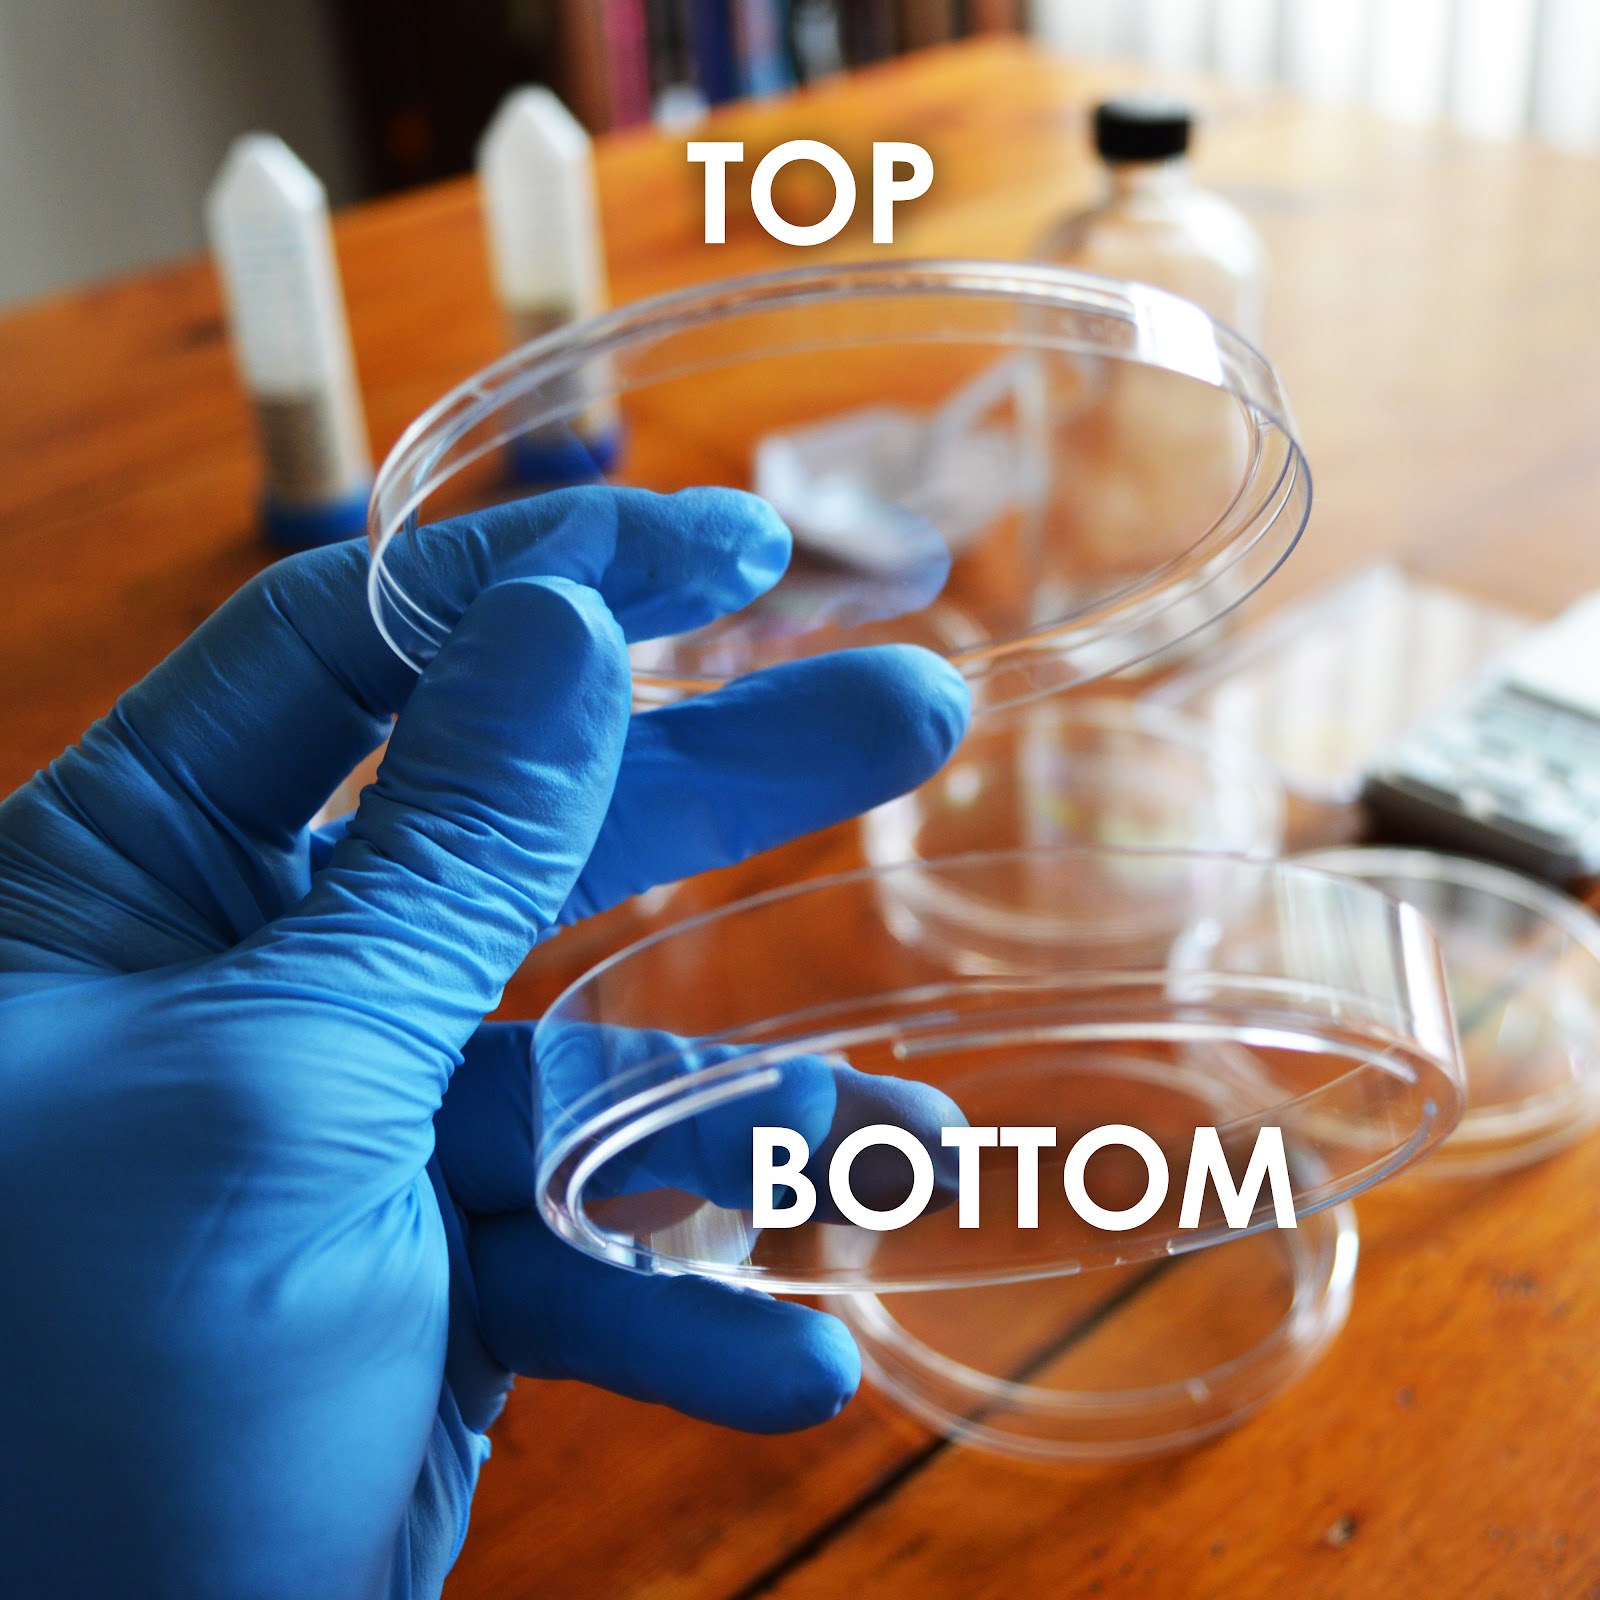
While waiting for your media to cool clear off a counter or table and stack plates in columns of 3-5 depending on what you feel comfortable with (Practice grasping the lid of the bottom most unfilled plate and lifting it and all the plates on top of it up).
Ready to pour. So go back to the technique you practiced. Grasp the lid of the bottom most unfilled plate and lift all the plates up. Then pour in the LB Agar until it covers the bottom. Then grasp the next unfilled plate lid in the stack and fill it up.
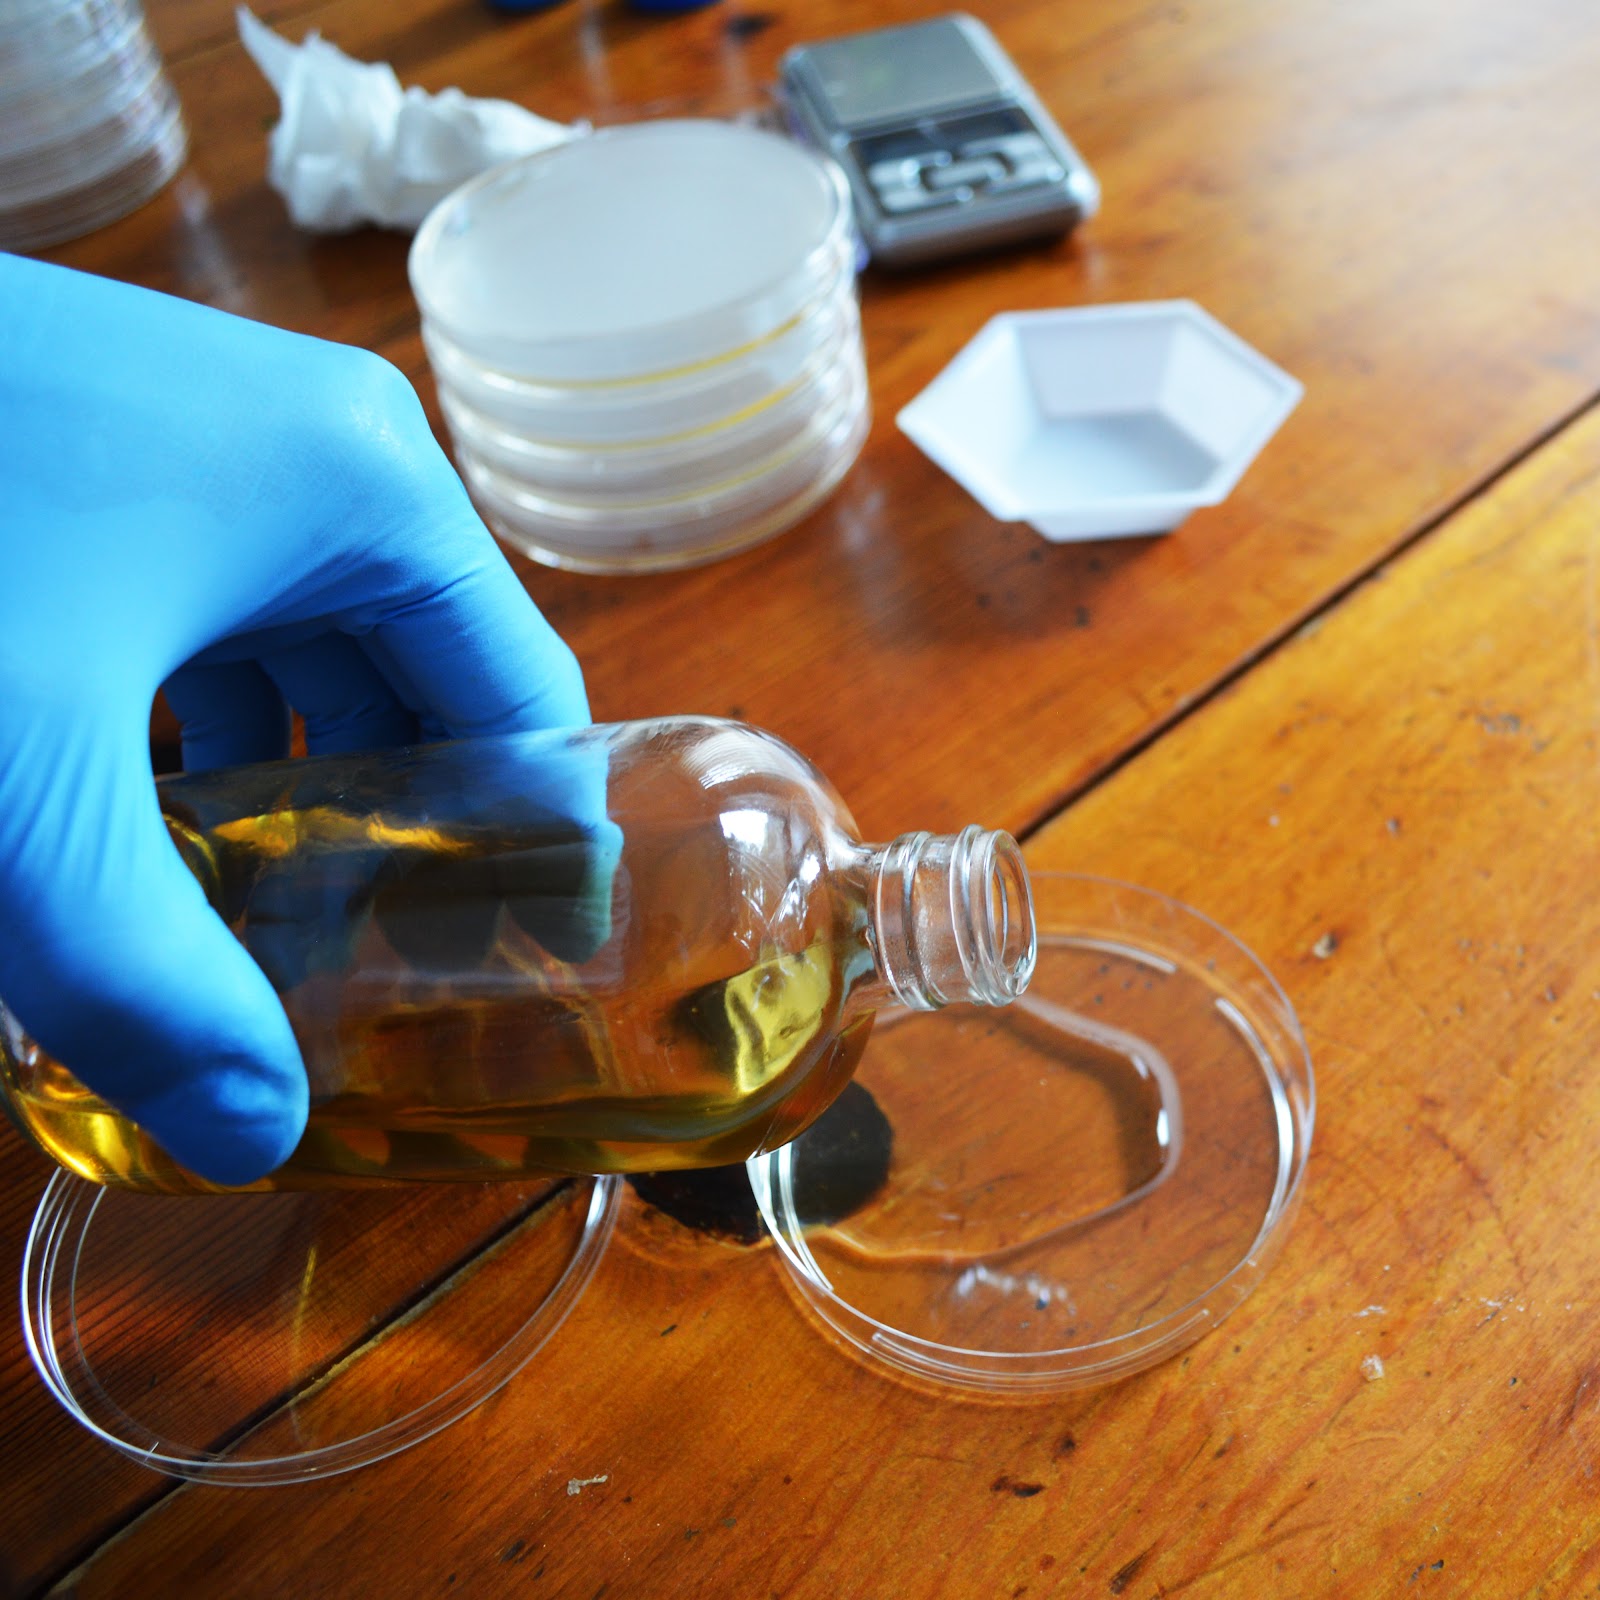
Try and only add enough to barely fill in the bottom. This will make sure you have more plates!
Let cool and solidify for a few hours or overnight on a table or counter if possible. This lets some of the condensation escape back out before you store them at 4C in your Refrigerator. Store upside down so any condensation doesn’t drip on the plate.
Remember never to freeze plates they will become cracked and distorted.
Plates can be used immediately after they solidify!
Plates should last 2-3 months depending on how much condensation accumulates in the bag and how sterile you were during the preparation.
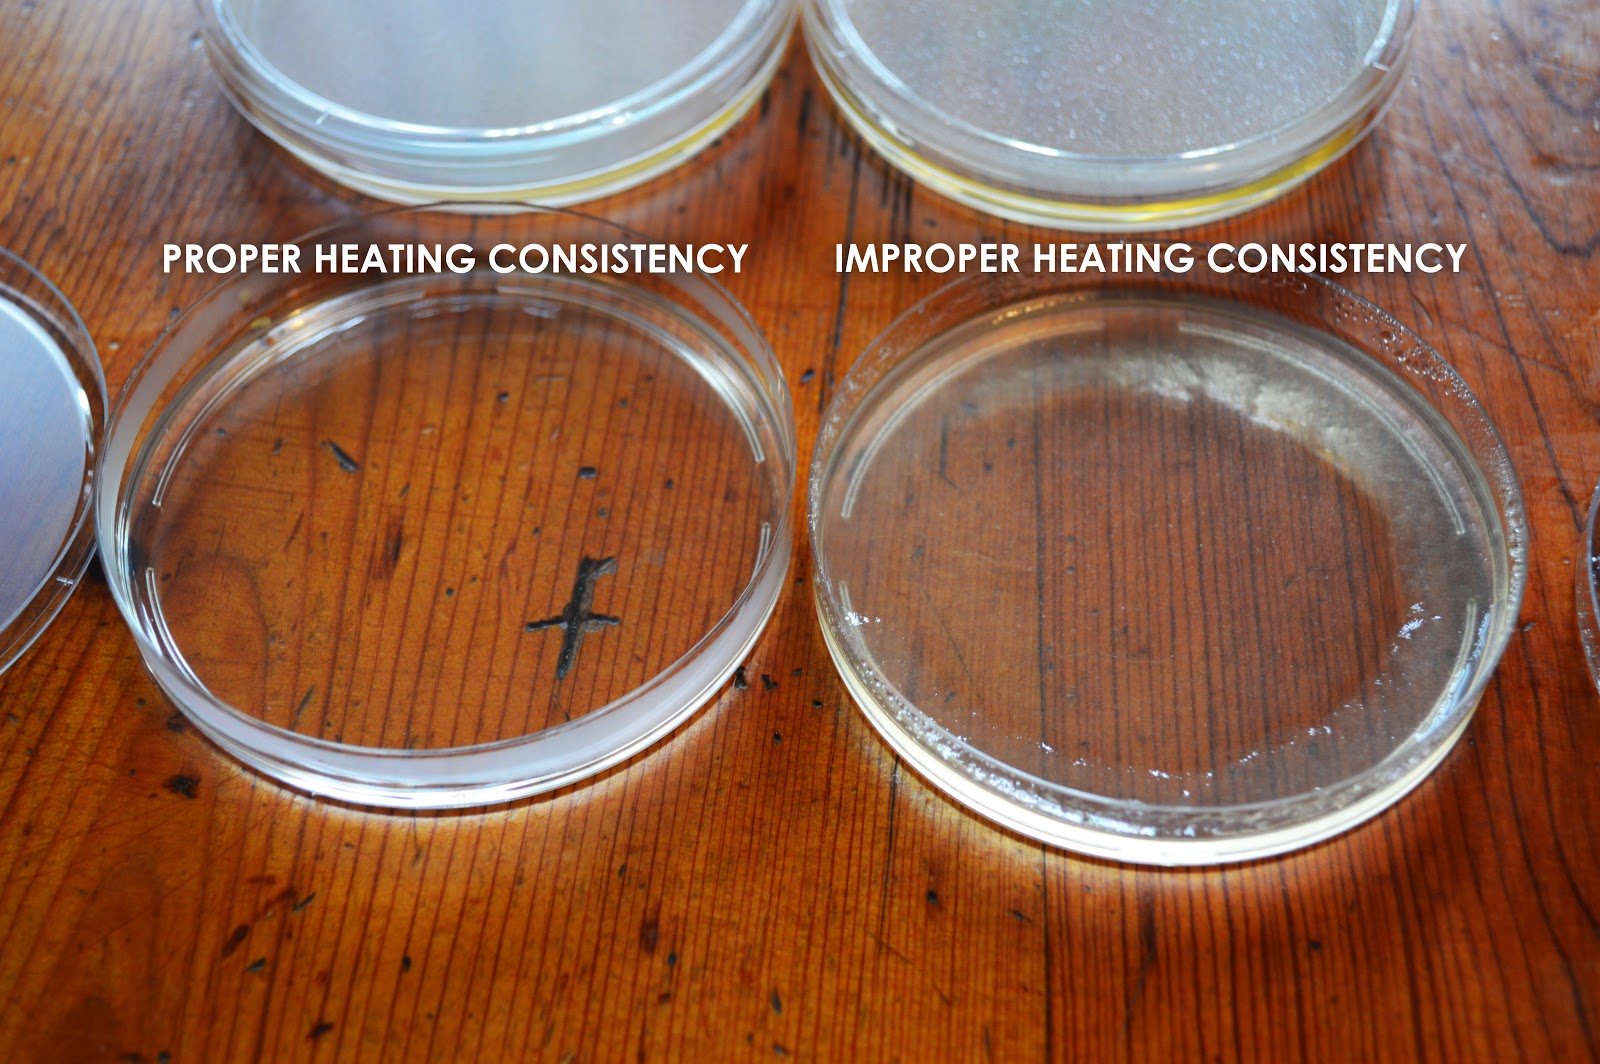
Below are examples of plates where the LB AGAR was heated properly and not properly