
Introduction
Genetic engineering involves modifying an organism’s DNA to deliberately change an aspect of the organism for a particular purpose. This kit demonstrates the power of the CRISPR Cas9 system in modifying the genomic DNA of the yeast Saccharomyces cerevisiae so that it turns a redish pink color instead of its natural creamy white.
This kit requires ~10 hours of work over the course of at least 2 days but the yeast can take a bit of time to grow 2- 4 days.
As this document is constantly being updated with tips and pointers and there are video links embedded, you can find the most up to date version online at: https://goo.gl/9m68sx
One can also find more detailed protocols and tutorials here at https://goo.gl/X85qD3 for such things as making plates or learning how to pipette.
Making Plates
Agar plates provide a solid media nutrient source for yeast to grow on. The standard media that is used is Y(E)PD (Yeast Extract, Peptone, Dextrose). This contains a carbon source, a nitrogen source. Strains of that are used in genetic engineering are also what are called auxotrophic meaning that they can’t synthesize certain things that they need for survival.
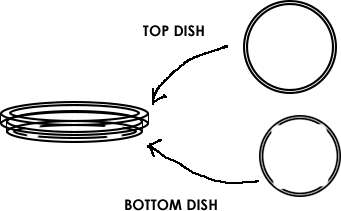
The top of the plate is the larger part.
-
Take a tube labelled Agar media, such as “YPD Agar Media”, “CM Minus Uracil Minus Adenine Agar Media” or similar and dump its contents into the 250mL glass bottle. (You will need to make plates out of each kind of media, so start with whichever tube of media you choose.)
-
Using the 50mL conical tube labelled “For Measuring Liquid”, measure and add 150mL of water to the glass bottle.
-
A more detailed protocol for making plates can be found here. Making agar is like making jello-- heat the agar to dissolve it, then it will solidify when it cools. Heat the bottle in the microwave for 30 seconds at a time, being careful not to let the bottle boil over. DO NOT SCREW THE LID DOWN TIGHT! (just place it on top and give it a slight turn)
-
You will know it’s done when the liquid looks yellow and fully see-through (no fogginess). This should take about 2 -3 minutes total of microwaving. Take the bottle out(caution contents hot) and let it cool until you are able to touch it without much discomfort. This will take 20-30 minutes.
-
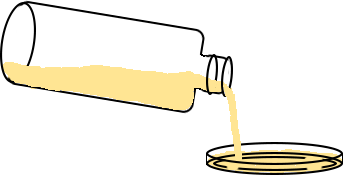
While the bottle remains somewhat warm, pour the plates. One at a time, remove the lid of 7 plates and pour just enough of the agar from the bottle to cover the bottom half of the plate. Put the lid back on.
Let cool for 1 hour and then store in your fridge at 4ºC
Making Competent Yeast Cells for Transformation
‘Competent’ means the yeast are able to take in foreign DNA. The cell walls normally prevent things from entering in, but we are going to mix the yeast with chemicals and salts that change this. In order to get CRISPR to work inside the yeast cells we need to get all of the components inside the cells! This process is called transformation. We put all the materials into synthetic DNA and then trick the yeast into thinking that our DNA is its own DNA and so they make the Cas9 protein, the tracrRNA and crRNA.
The yeast transformation mix contains:
30% Polyethylene Glycol(PEG) 8000
PEG 8000 is often found in laxatives and is thought to play a number of roles in transformation: from shielding the charged DNA, to helping it get into the cell, to making the cell membrane more porous.
10% Dimethyl Sulfoxide (DMSO)
DMSO is sometimes used to treat ailments in humans and is thought to either permeabilize the cell wall and/or break down any complicated structures that the DNA might have formed into.
100mM Lithium Acetate(LiAc)
LiAc is thought to shield and neutralize the negative charge of DNA to make it more likely to enter into the cell.
Single Stranded (SS) Carrier DNA
SS Carrier DNA is known to help DNA enter into yeast during the transformation process. It is thought to prevent nucleases from digesting the plasmid and also bind to the yeast cell membrane making it easier for the plasmid DNA to enter the cell.
-
Streak out a new plate of yeast using an inoculation loop and let it grow overnight ~12-18 hours, or until you see white-ish yeast begin to grow. Use a YPD plate, NOT CM Minus URA Minus ADE agar plate.
-
Add 100 microliters(μL) of Yeast Transformation mix to a new microcentrifuge tube. If you have never used a pipette before you can find a guide here
-
Using an inoculation loop, gently scrape some yeast off of your fresh plate and mix it into the transformation mix. Be gentle! The agar is soft. Mix until any big clumps have disappeared. This might require gently pipetting the mixture up and down. Avoid creating bubbles if possible.
-
Make one tube for each CRISPR experiment you plan to perform in the next day or two and store them at 4ºC (39ºF) in the fridge.
DNA Transformation and CRISPR Experiment
Watch this Video about CRISPR
https://www.youtube.com/watch?v=2pp17E4E-O8
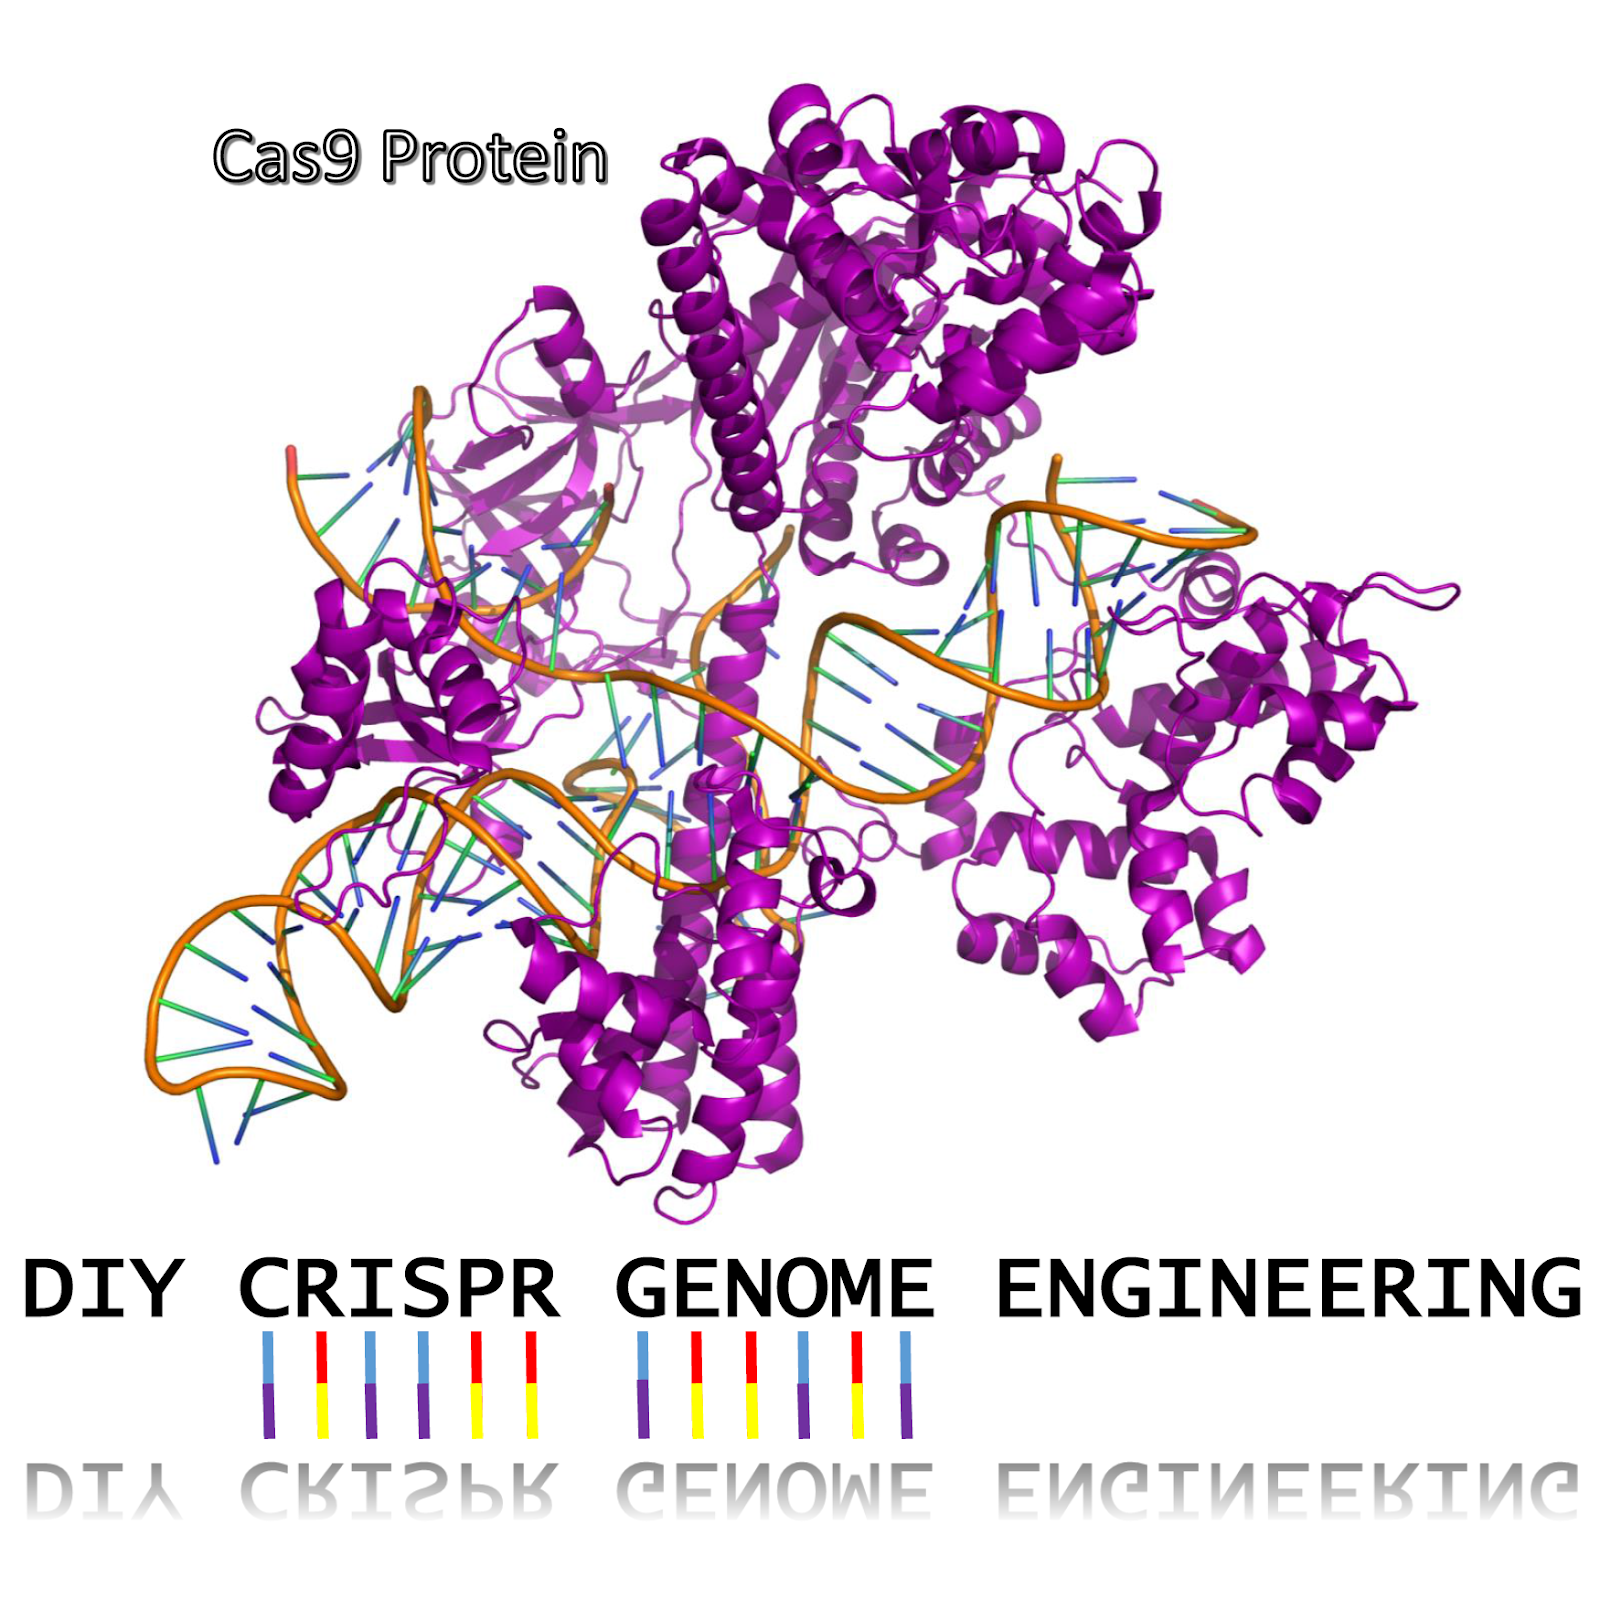
CRISPR Has 3 Main parts
Cas9 Protein
The Cas9 protein is the engine of CRISPR. It binds the gRNA and also the gene targeted for editing. If a gene match is found, the Cas9 protein will cut the the DNA. The cell responds to the cut by trying to repair the DNA damage. Cas9 cuts, it DOES NOT do any actual gene editing. Instead, it tricks the cell into doing it.
guideRNA (gRNA)
The gRNA, is a recent invention. It is actually a combination of the trans associated CRISPR RNA (tracrRNA) and the CRISPR RNA (crRNA), connected by a small nucleotide linker. Some people use the separate tracrRNA and crRNA for improved efficiencies. In the DIY Yeast CRISPR kit we will use a gRNA. The tracrRNA part of the gRNA binds to the Cas9 protein. The crRNA part of the gRNA binds to the tracrRNA in order to stay connected to the Cas9 protein. Critically, the crRNA matches (is complementary to) the DNA in the genome that we want to edit. This crRNA match is how to Cas9 protein recognizes the gene to cut.
Template DNA
Once the Cas9 protein makes a cut on the gene we want to edit, the cell begins to try and repair the DNA through a process called Homologous Recombination. During this repair process, the cell is looking for a DNA template to figure out how to fill in the gene that was cut. If we flood the cell with a template that is similar to the missing region, but has a mutation or change in it, the cell will mistake it for a true copy and use it instead. Our template DNA has will make an edit in the yeast Ade2 gene
In this kit we will use a single piece of DNA that contains all parts needed for CRISPR (called the CRISPR plasmid) you just to get it into the yeast cell.
-
Find the DNA tube labelled “CRISPR DNA” and using your pipette add 10 microliters(μL) to your competent cell mixture. Change pipette tips.
-
Incubate this tube in the fridge (DO NOT FREEZE) for 30 minutes.
-
Incubate the tube for 1 hour in ~42ºC (108ºF) water. You can approximate this temperature by using water that is warm, but comfortable enough such that you can still keep you hand in it.
-
Add 1.5 milliliters (mL) of room temperature water to one of the YPD media microcentrifuge tubes and shake to dissolve the YPD.
-
Using the pipette, add 1000μL of YPD media to your competent cell mixture containing your DNA.
-
Incubate the tube at 30C(99F) for 1 hours or 4 hours at room temperature. This step allows to yeast to recover and replicate the DNA and perform the CRISPR engineering process.
-
Add 1.4mL of room temperature water to the CM -Uracil -Adenine microcentrifuge tube and shake to dissolve the media
-
Take 100uL of your yeast competent cell mixture and add it to the CM -Uracil -Adenine microcentrifuge tube and let sit for 24-48 hours at 30C or Room temperature.
-
Take a CM minus URA minus ADE plate out of the fridge and let it warm up to room temperature. Using the pipette, add 100μL of your CRISPR transformation mixture on top of an CM -URA -ADE Agar plate. For better success rates, using a marker draw a line down the back of the plate and put yeast on half after 24 hours and on the other half after 48 hours.
-
Using an inoculation loop, gently spread the yeast around the plate and let dry for 10 minutes before putting the lid back on.
-
Flip the plate upside down to prevent condensation from forming and dripping onto your yeast.
-
Incubate the plate at 30ºC (99ºF) for 1-3 days or room temperature for 2-4 days or until you start to see red yeast growing on the plate. Sometimes it initially starts out as white but turns red.
-
If you begin to see little red round dots growing, then your CRISPR genome engineering experiment was a success! If not, give it another shot, Science doesn’t always work on the first try. Also, feel free to contact us at odin@the-odin.com and we will help you troubleshoot.