
BIOLUMINESCENT BACTERIA GROW KIT

One major problem people have is that they let the bacteria culture temperature rise above ~80F (30C). While the bacteria do just fine at temperatures as high as 98F (37C), the bioluminescent genes come from another organism that lives in cooler temperatures. When the temperature goes up, the protein catalyzing the bioluminescent reaction denatures into a nonfunctional shape. Don’t let the temperature rise above ~80F (27C)! Keep at room temperature for best results, 65F-75F! If your house is warm, a good way to prevent your bacteria from experiencing temperature fluctuations is to store the culture in a styrofoam container.
Protocol for liquid culture
Step 1:
-
Add contents of one LB Amp media tube to glass bottle
-
Add ~200 mL water to that bottle(tap water works best) and shae to dissolve.
-
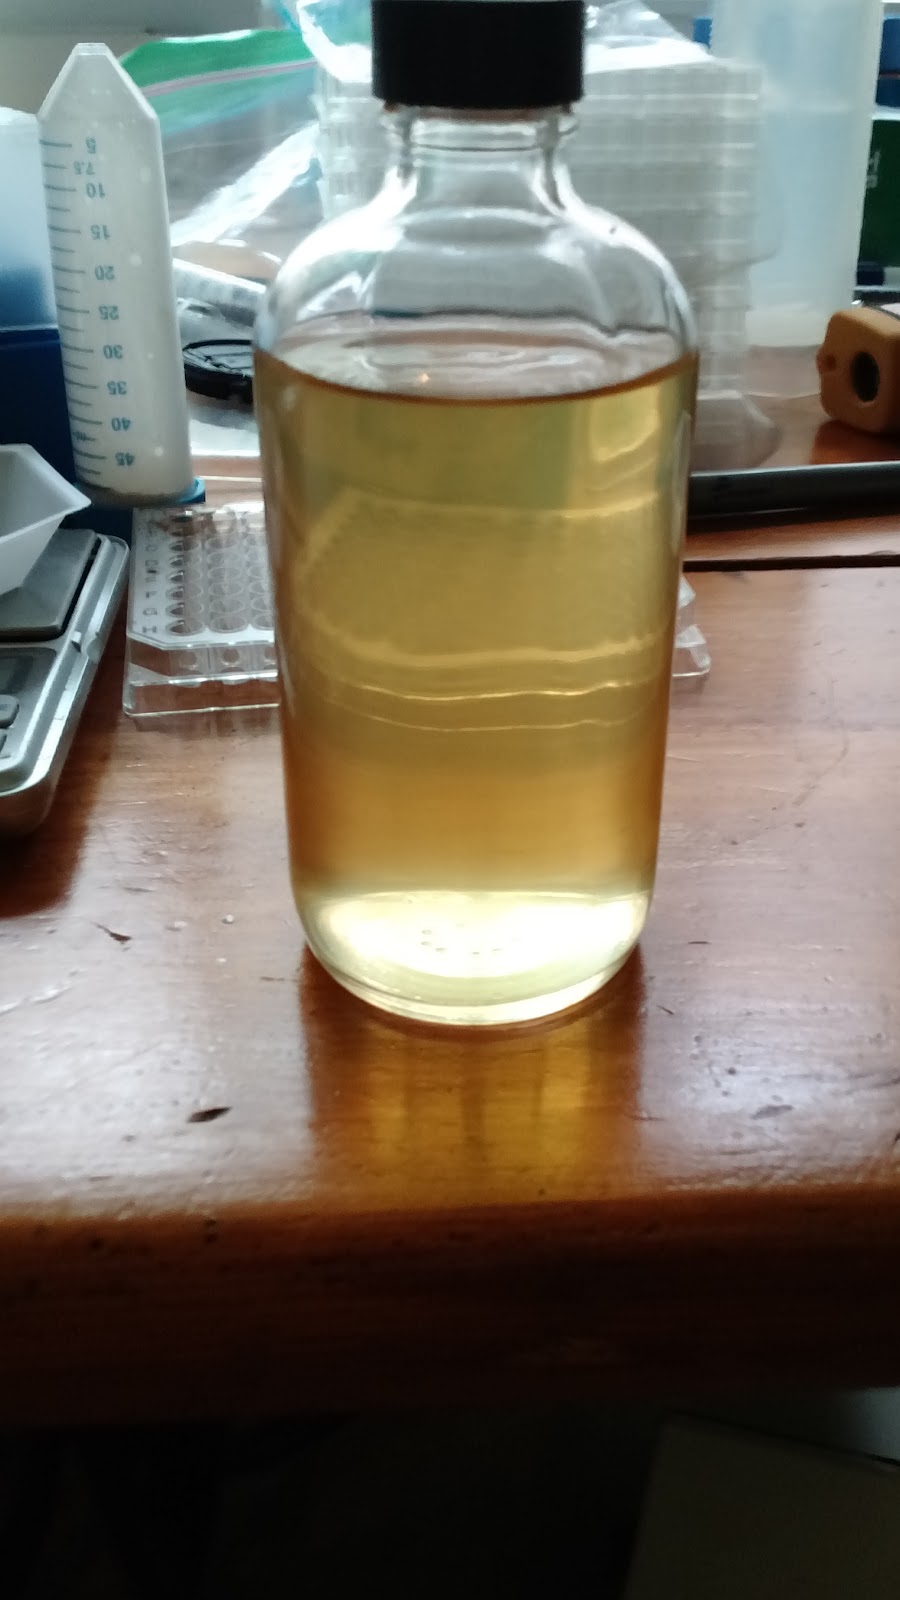
When all powder is dissolved, use an inoculation loop to gently scrape a very small amount of the bacteria that came with the kit or the ones you made. Leave cap halfway on to introduce oxygen. If you don’t see growth after a day you might not have put enough bacteria in the culture. Growth is indicated by the media turning from clear to cloudy.
-
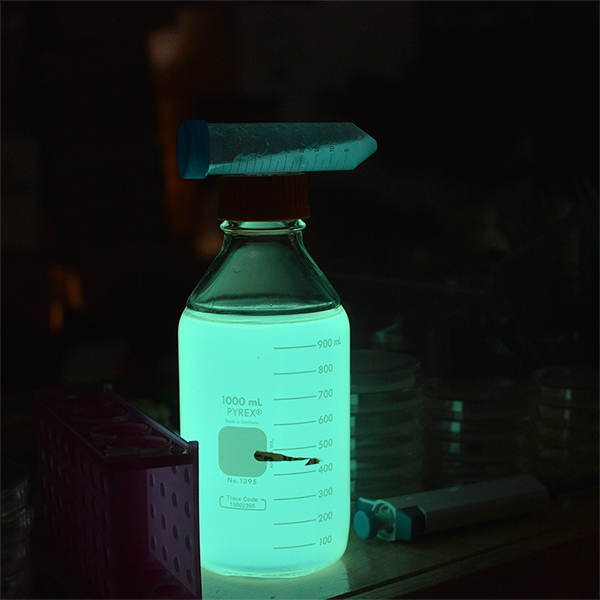
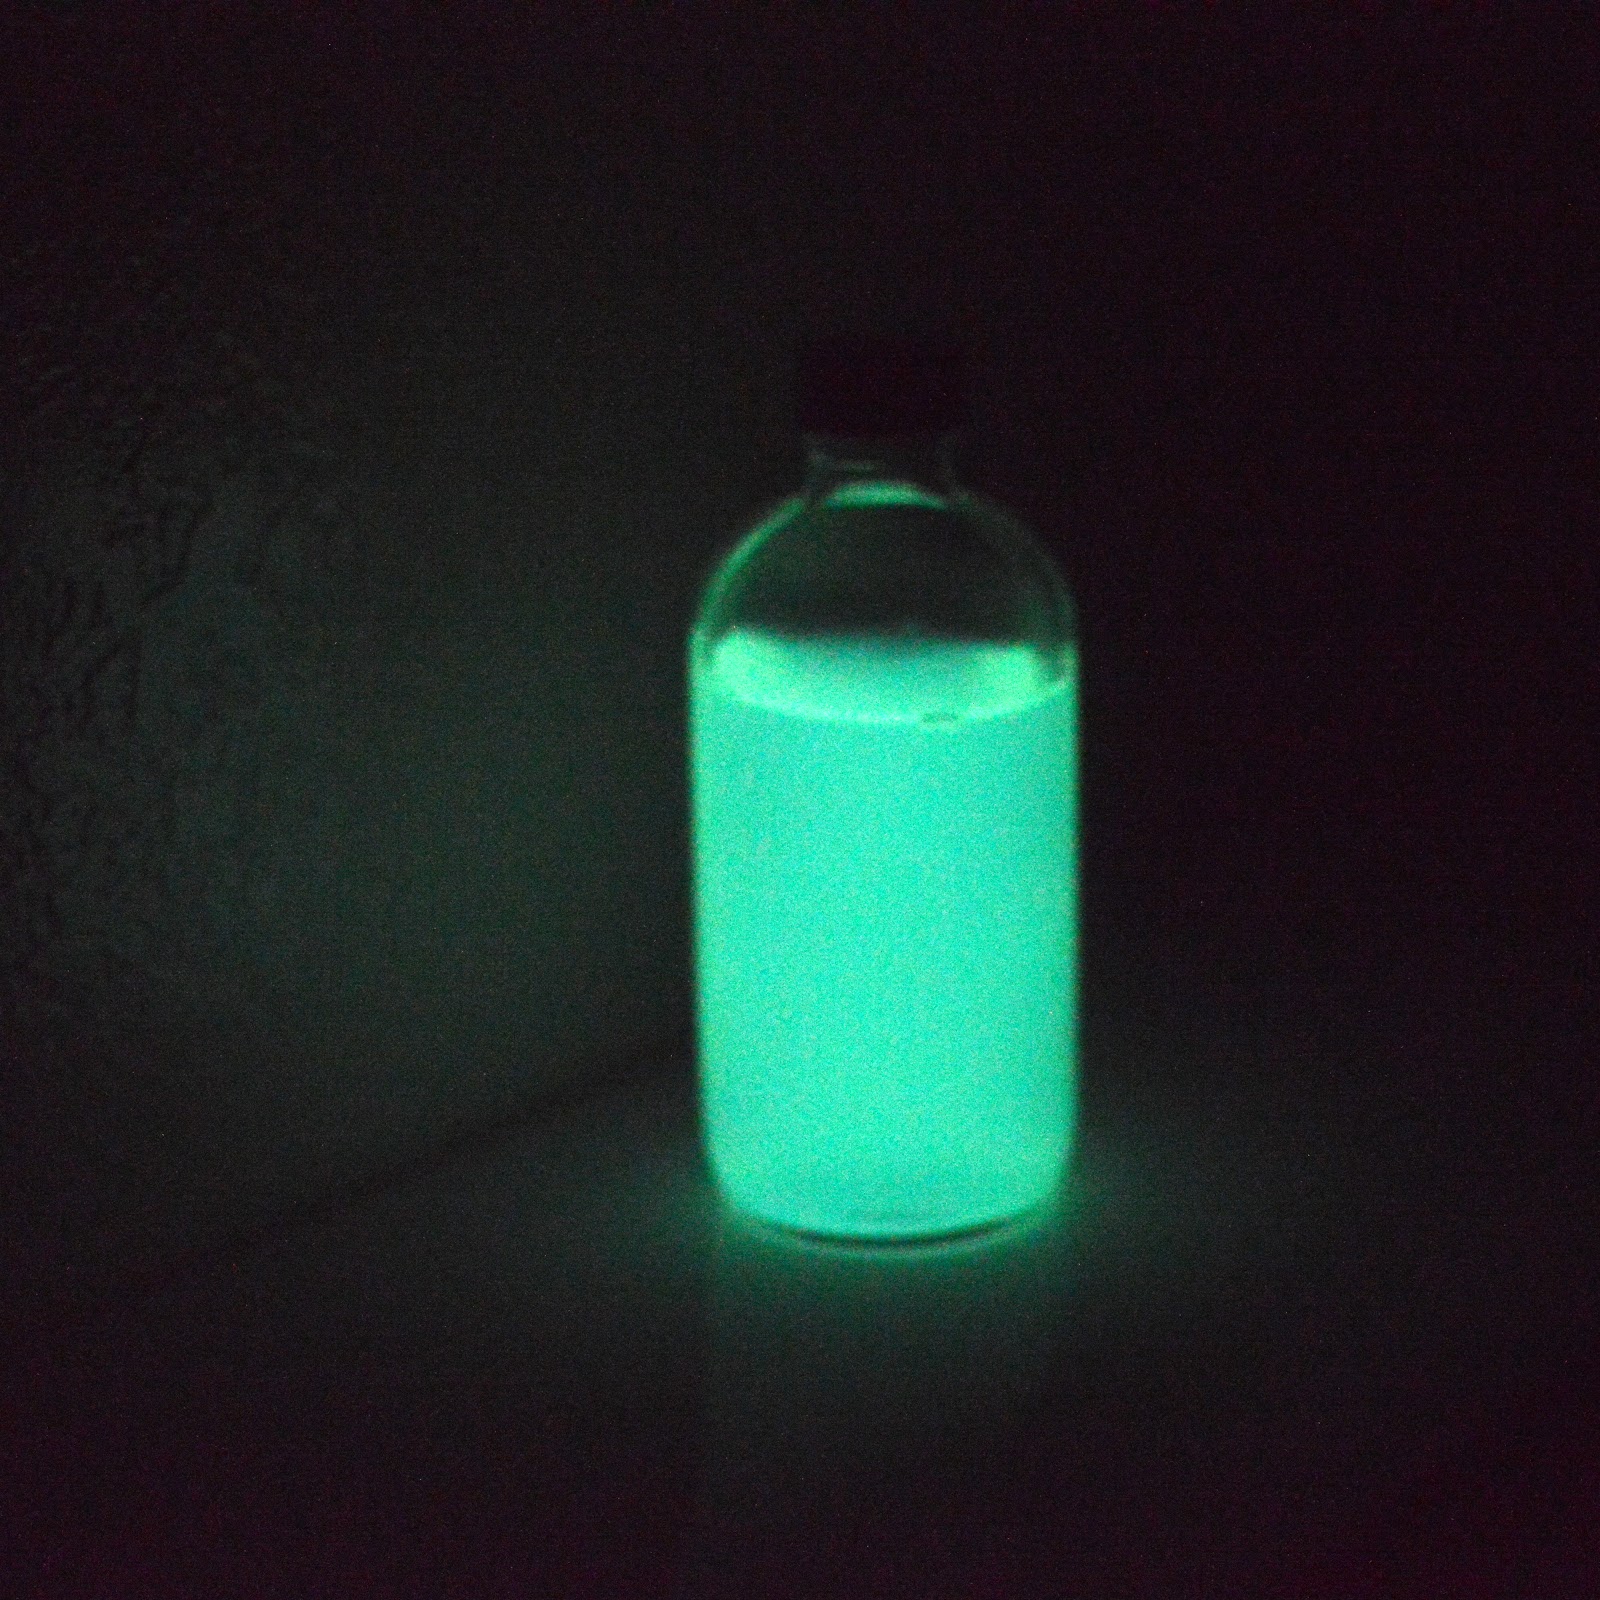
For best effect start the culture in the morning and view at night or let the culture sit overnight and view in the morning(wait ~6-10hrs for 200mL) You will be able to see the glow as the bacteria are growing but the intensity depends on how much bacteria there are. To see glow just give gentle swirl to the bottle.
*Once the bacteria start glowing keep in a cool dark place so the glow lasts a long time*
*The Bioluminescent reaction needs oxygen to glow. Shake the culture bottle carefully with the lid on to see the glow.*
You have been given enough LB Ampicillin Media tubes to grow up bioluminescent bacteria. You can even just take a few drops out of the already glowing broth and add it to fresh broth and wait a series of hours for it to reach peak brightness again
The applications are endless and don’t be afraid to email us at odin@the-odin.com if you have questions or need inspiration or to re-up your supplies.
DON’T SHAKE WHILE INCUBATING!
Protocol for plates
-
The kits come with a bacterial stab or bacteria growing on a plate. Simply scrape a small amount of bacteria onto a new LB Amp Agar plate you made using an inoculation loop to gently spread or “streak” the bacteria.
-
Keep the plate below 30C(80F) for 4-12 hours or until you see growth.
-
Take the plate into a dark room and you should be able to see glowing bacteria.
-
Once the bacteria start glowing keep in a cool dark place.
-
This makes the glow last longer.
-
You can place the plate in your fridge for a few weeks to keep it alive
-
take it out whenever and warm it up a little and it will still glow a bit! Restreak to a new plate to renew the glow.


Making Plates (~1 hour, maybe more time if it’s your first time)
Step by step walk-through with photos at:https://goo.gl/7yzpA1
Agar plates provide a solid media nutrient source for bacteria and yeast to grow on. The standard media that is used is LB (Luria Broth, Lysogeny Broth, or Luria Bertani Broth). This contains a carbon source, a nitrogen source, and salt (many strains of bacteria like salt!).
*The top part of the full plate has the larger diameter.


Making Plates
-
Find the tube labelled “LB Ampicillin Agar” media and dump its contents into the 250mL glass bottle.
-
Using the 50mL conical tube labelled “For Measuring Liquid Volumes”, measure and add 150mL of water to the glass bottle.
-
Making agar is like making jello-- heat the agar to dissolve it, then it will solidify when it cools. Heat the bottle in the microwave for 30 seconds at a time, being careful not to let the bottle boil over. DO NOT SCREW THE LID DOWN TIGHT! (just place it on top and give it a slight turn)
-
You will know it’s done when the liquid looks yellow and mostly see-through. This should take about 2 -3 minutes total of microwaving. Take the bottle out(caution contents hot) and let it cool until you are able to touch it without much discomfort. This will take 20-30 minutes but keep an eye on it, set a timer, and swirl it every once in awhile to make sure it hasn't solidified.
-
When you can hold the bottle without burning your hands, pour the plates. One at a time, remove the lid and gently pour just enough of the LB agar from the bottle to cover the bottom of the plate and put the top back on the plate. Be careful when moving plates to prevent the agar from splashing to the lid or over the sides.
-
Let cool for at least one 1 hour before use(you can cool faster by putting them in the fridge but don’t freeze). If possible let the plates sit out for a couple hours or overnight to let the condensation evaporate. Then store in your fridge at 4ºC upside down so any condensation doesn’t drip on the plates. Plates can last for up to a month in fridge.
